
I don't know about you but I like seeing how things are made. Recently Joe Pino of The Fly Trout sent a series of photos and narrative on how a possible t-shirt design goes from idea to printed t-shirt. It's pretty neat to get an inside glimpse to the process and I appreciate Joe taking the time to put it all together.
Make sure you read all the way to the bottom since The Fly Trout is doing a weekend giveaway that is worth a look as well.
 The first step in the screen printing process is getting the image ready for the screen. For this design I took my original digital artwork and modified it to look patriotic by adding the red and the blue and the stars and the stripes. Once I was happy with how the bluegill looked, I separated the blue from the red and then changed everything to black. I needed to separate the blue and red because I will need one screen for each color.


The next step is to coat the screens with emulsion. Emulsion is a substance that will harden when cured with UV light and creates a stencil for pushing in the ink through the screen. Once the screens are coated with the emulsion they need to dry overnight. This step has to be done in yellow light so that the emulsion won't cure.


Make sure you read all the way to the bottom since The Fly Trout is doing a weekend giveaway that is worth a look as well.


The next step is to coat the screens with emulsion. Emulsion is a substance that will harden when cured with UV light and creates a stencil for pushing in the ink through the screen. Once the screens are coated with the emulsion they need to dry overnight. This step has to be done in yellow light so that the emulsion won't cure.
Once the emulsion is dry I printed the design on special transparencies that are used to burn the image into the screen. With the two transparencies printed I set them up on the press and align the images so that I can tape each of them to their screen.


Now is when the magic happens. With the transparency attached to the screen there is a piece of glass on top of it, held down with clamps, to keep the image in complete contact with the emulsion on the screen.
Above the screen is halogen lamp that is turned on for 10 minutes to cure the emulsion. Any emulsion that is exposed to the UV light from the lamp will harden and not be able to be sprayed off the screen with water. The emulsion underneath the black of the transparency is left uncured and is then sprayed off with water, leaving the open mesh of the screen where ink can still pass through. This step happens twice, once for the red screen and once for the blue screen.


After adjusting the screens a little to make sure the images are aligned. The shirts are ready to be printed. I first print the blue with a couple strokes of the squeegee and then I change the screens and print the red onto the shirt. Between colors I have to heat the ink for a few seconds so that the blue ink doesn't end up on the back of the red screen.

Once both colors are printed, I have to heat cure the ink into the shirt so that it doesn't wash out.
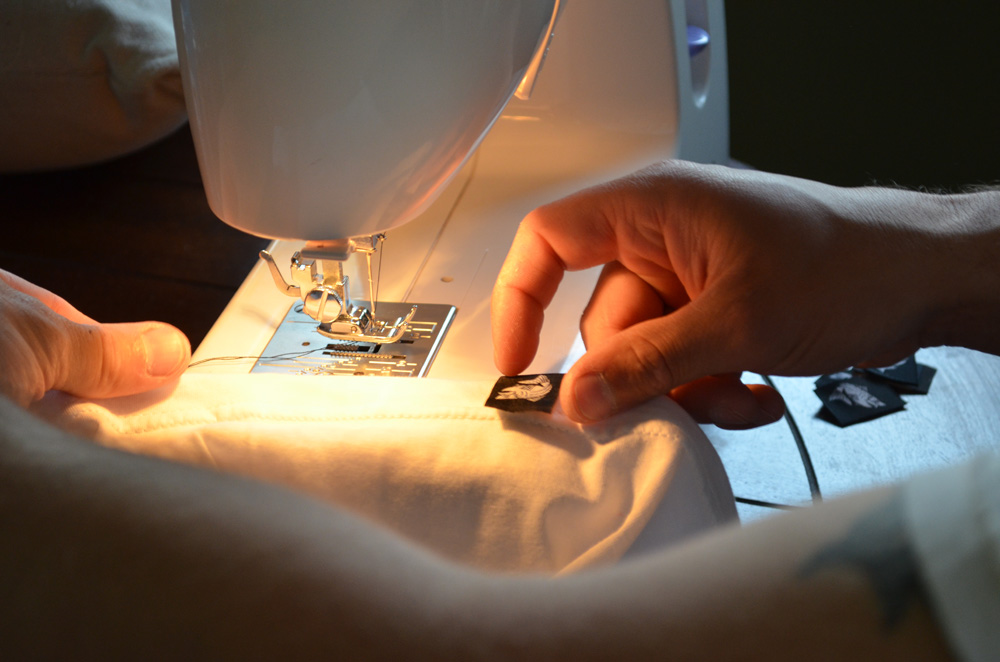
For the final touch, I sew a label on the bottom left of the shirt with the The Fly Trout logo on it.

Done and done. Wasn't that fun?

The Fly Trout is really in the patriotic spirit and doing an "All-American Giveaway" through this weekend. Check the website for details.
No comments:
Post a Comment